Video Glossary: 30 Essential Terms Every Beginner Creative Should Know
Just getting started with video production? This beginner-friendly glossary breaks down 30 essential terms every creative should know, from aspect ratio to rendering, so you can speak the language of video like a pro.

Table of contents

The deeper and deeper you get into video production, the more you’ll realize there are literally thousands of terms we use throughout the process, from the planning phase to the final export.
If you’re just getting started, you don’t need to learn all of these terms at once. However, it can be extremely helpful to know the basics so that you can communicate with other professionals and look things up when you don’t know what you’re doing!
In this guide, we’ll take a look at 30 essential terms that you should know as a beginner videographer.
1.Aspect Ratio
Think of the aspect ratio as the shape of your video frame.
It’s the same way you’d choose the dimensions for a canvas before you start painting. The most common aspect ratio for videos is 16:9, which is wide and cinematic, perfect for YouTube or TV screens.
But if you’ve ever watched a film in a theater, that could be more like 2.35:1, which is even wider. On your phone, you might see 9:16, which is perfect for Instagram stories and TikTok videos.
Understanding aspect ratio is key when you're editing because it helps ensure your video looks great no matter where it’s viewed!
2.ISO
ISO controls how sensitive your camera is to light.
Think of it like the brightness setting on your phone. When you're shooting in low light, raising your ISO helps you capture more detail. However, just like turning up your phone's brightness can make things blurry or grainy, increasing ISO too much can add "noise" to your footage, making it look less clear.
The trick is finding the right balance, meaning enough ISO to see details in the dark but not so much that your footage looks like a pixelated mess.
Download the perfect soundtrack for your videos with ProTunes One
Sign up to access high-quality music for your projects.
Sign Up Now3.Aperture
The aperture is the "eye" of your camera or the opening in your lens that controls how much light enters.
Imagine your camera lens as a pupil in your eye. When you’re in a bright room, your pupil contracts to let in less light; in a dark room, it opens up to let in more light. The aperture works the same way!
A wider aperture (a smaller f-number) lets in more light and creates that beautiful blurred background often seen in portraits. A smaller aperture (a higher f-number) keeps more of your scene in focus. The aperture is key for controlling exposure and the "look" of your shot.
4.B-Roll
B-Roll is any footage that’s not the main focus of your video but helps tell the story by adding context, texture, and visual interest. Imagine you're making a vlog about a hike you took.
Your A-Roll (main footage) might be you talking about the hike, but your B-Roll would include shots of the trail, trees swaying, or your hiking boots crunching through the leaves. B-Roll can add a lot of flavor to a video, keeping it visually engaging and smoothing over any awkward moments.
It’s also a great chance to get creative and show your audience the world you’re describing!
5.Framerate
Framerate is the number of frames (or individual images) captured per second.
The most common framerate for movies is 24 fps, which gives that classic cinematic feel. Want to make a slow-motion shot? You might shoot at 60 fps or even 120 fps and slow it down in editing. Higher framerates give your footage a super smooth feel, while lower framerates might add a more vintage or choppy look.
Knowing the right framerate helps you set the mood for your video.
6.Resolution
Resolution refers to how detailed your video is. To measure this, we use pixels. You’ve probably heard of 4K, 1080p, or 720p. These numbers refer to the resolution!
1080p (Full HD) is the sweet spot for most online videos, but if you’re shooting something epic, like a film or a high-end commercial, you might shoot in 4K for extra sharpness. Higher resolution means more detail, but it also means your files will be bigger, and your computer will need more power to handle the footage.
Just like choosing the right canvas size for a painting, picking the right resolution for your project is important to ensure it looks its best.
7.Shutter Speed
Your shutter speed controls how long the sensor on your camera is exposed to light.
Fast shutter speeds, such as those around 1/1000th of a second, take a quick "blink" and capture a crisp image. Faster shutter speeds are great for fast-moving subjects like sports.
On the other hand, slower shutter speeds, like those that are 1/30th of a second, let in more light and capture motion blur. This can be great when you want to add a more dramatic or cinematic effect (think of those cool car chase shots with blurred headlights).
The trick is to match your shutter speed with your framerate for the most natural-looking motion.
8.White Balance
White balance is used to make sure colors look natural.
Let’s say you were filming a scene with a sunset. If your white balance was off, your beautiful orange sky might end up looking weirdly green or blue.
White balance adjusts the color temperature of your video to make whites look neutral, and all other colors look just how they should.
Most cameras have auto white balance, but as a pro, you’ll want to manually adjust it for the best look, especially when shooting under tricky lighting like tungsten or fluorescent bulbs.
Getting the white balance right can make all the difference in how realistic your video looks!
9.Focus
While this one might seem pretty self-explanatory, it’s worth going over anyway! Focus refers to how sharp the subject of your shot is. A "sharp" image means your subject is clear and defined, while a "soft" image means it’s blurry.
You can control focus manually by adjusting the lens on your camera, though if it has an autofocus feature, you can let it do the work for you.
When you're filming a person, you probably want their face to be in focus. But maybe you want a creative shot with a blurry background to make them stand out even more. This is called a shallow depth of field, and it’s one of the coolest tricks cinematographers use to make videos look professional.
10.Bitrate
Bitrate refers to how much data is used to store your video per second. A higher bitrate means more data, which typically results in better quality but also larger file sizes. If you’ve ever watched a video on YouTube that looked pixelated or blurry, it might have been encoded at a low bitrate. A good rule of thumb is to use a higher bitrate for videos that will be viewed in larger formats or on high-resolution screens, like 4K.
For smaller screens, you can use a lower bitrate to save space without losing too much visual quality.
11.Color Grading
Color grading is the icing on the cake in video production. Without it, your favorite films wouldn’t have a “finalized” look. After filming and during post-production, you can adjust the color balance, brightness, and contrast to create a specific mood or style.
For example, you might add warm tones for a sunset scene or cool blue tones for a dramatic, chilly atmosphere. Even a little bit of color grading can make the footage feel more professional.
12.Green Screen
The green screen is your ticket to limitless creativity as a videographer.
It’s a special backdrop that’s usually bright green (or sometimes blue) that you can easily replace with anything you like during post-production. For example, if you're filming a news broadcast but want to make it look like you're standing in front of the Eiffel Tower, a green screen makes it possible.
You’ll film yourself in front of the green screen, and then the software can “key out” the green and insert a new background. It’s a fun, futuristic technique that’s been used in movies since the 1930s!
13.Composition
Composition is the process of arranging the elements within the frame to create a visually pleasing and effective image.
Think of it like setting up a photo shoot, where you’d have to place your subjects, props, and lighting in a way that draws the viewer’s attention to the important parts.
One of the most popular techniques in composition is the Rule of Thirds, where you divide your frame into nine equal parts and place key elements along these lines. For example, in a landscape shot, you might place the horizon on the top third of the frame to give the scene balance and interest.
Composition guides the viewer's eye and can change the whole feel of your video.
14.Keyframe
A keyframe is kind of like a bookmark in your video or animation that marks a specific moment when something happens, such as a light dimming or an object moving across the screen.m Think of it like setting a point on a timeline where something changes. For example, if you're animating text and want it to slide across the screen, you'll set a keyframe at the start (where the text is off-screen) and another at the end (where the text is fully in view).
The software will then automatically fill in the movement between those keyframes.
15.Cutaway
A cutaway is a shot that briefly interrupts the main action to show something else. Usually, that “something” adds context or emotion to the scene.
Let’s say you're filming someone telling a story, and they mention their childhood home. A cutaway could be a quick shot of that home, giving your audience a little extra visual info. It’s a great tool for keeping your video engaging, as it keeps things moving without having to stick with the main shot for too long.
It’s also a great tool for hiding jump cuts or smoothing out transitions in your story.
16.Lens Flare
A lens flare is a very popular effect that many videographers use in creative ways. It’s the beautiful burst of light you see on-screen when your camera is pointed at a bright light source, like the sun or a street lamp.
Filmmakers use lens flares to add a cool, dreamy, or dramatic feel to their videos. However, they can also be an accidental side effect of shooting directly into light. Some directors (like J.J. Abrams) love using them as a stylistic choice, while others try to avoid them.
17.Depth of Field (DOF)
Depth of field (DOF) refers to the zone of sharpness in your video. Imagine you're filming a person, but you want the background to look blurry, making your subject pop. That’s controlled by the depth of field.
The shallower the depth of field, the blurrier the background. The deeper the depth of field, the more of the scene will be in focus.
A shallow depth of field is often used for portraits, while a deep depth of field is common in wide shots, like landscapes or action scenes.
18.Dynamic Range
Dynamic range is the difference between the brightest and darkest parts of your image.
If you’ve ever shot a video and noticed that your subject’s face was too dark while the sky was too bright, you’ve seen the limitations of dynamic range. Cameras with a wider dynamic range capture more detail in both shadows and highlights, which is super helpful when shooting in high-contrast situations, like a sunset.
If you’re filming in a challenging lighting environment, knowing how to use dynamic range can help you ensure that important details are captured correctly.
19.Focal Length
Focal length is the distance between the camera lens and the image sensor when the subject is in focus, and it plays a huge role in determining how your shot looks. It’s like the "zoom" function on your camera, though it affects how wide or narrow your field of view is and how much of the scene you can capture.
For example, a wide-angle lens (short focal length, like 24mm) lets you capture a lot of the scene in one shot. It’s perfect for landscape shots or tight spaces like rooms, as it makes everything appear expansive and close.
On the other hand, a telephoto lens (long focal length, like 200mm) brings faraway subjects closer and gives you a more compressed, zoomed-in view. That’s why so many wildlife or sports photographers use it.
Download the perfect soundtrack for your videos with ProTunes One
Sign up to access high-quality music for your projects.
Sign Up Now20.Diffusion
Diffusion refers to the technique used to soften and spread light, creating a gentler, more flattering effect on your subject. When light is diffused, it scatters and reduces the intensity of shadows, creating a smoother and more even illumination on your scene.
Think about when you're shooting a close-up of a person’s face. Without diffusion, the harsh light could cast harsh shadows, making every wrinkle or imperfection stand out. But with diffusion, the light becomes evener, softening the shadows and creating a more flattering look. It’s a very common trick in portrait photography and cinematography.
You can achieve diffusion in several ways, though most people use softboxes, diffusion gels, or simple pieces of white cloth placed between the light and the subject.
21.Long Shot
A long shot is a wide shot that captures the subject from a distance, showing the environment around them.
For example, if you were shooting a scene where a person was walking across a desert landscape, a long shot would show the person small in the frame, surrounded by the entirety of the desert.
This helps give context and emphasizes the scale of the environment. Long shots are perfect for establishing a setting or showing off dramatic scenery. They can make a subject appear tiny or heroic, depending on how you use them!
22.Audio Levels
One of the most important yet often overlooked aspects of video production is audio. After all, there’s nothing quite like poor sound to ruin an otherwise great video. These levels are typically displayed as a meter on your camera or audio recorder during the filming process and on digital meters in post-production.
There are many standards in audio.
When recording dialogue, you want to aim to have an audio peak of around -6 dB to -3 dB. This should give you a nice, clean sound without any clipping (aka digital distortion).
23.ND Filter
An ND filter (neutral density filter) is meant to reduce the amount of light hitting the sensor, which allows you to use wider apertures or slower shutter speeds even in bright light.
Without an ND filter, shooting in daylight can result in overexposed footage (blown-out highlights), especially if you’re trying to get a cinematic shallow depth of field.
These types of filters come in different strengths, from light to heavy, so you can use them in various lighting conditions. I’m a big fan of them for outdoor filming.
24.Audio Sync
Audio sync is the process of making sure your sound matches your video.
If you’re recording audio separately (which you should for better sound quality), you’ll need to sync it up in post-production. One good trick to make sure you’re in sync is to clap loudly at the start of your shot.
The sharp sound will create a noticeable spike on the audio track, making it easier to line up with the video. Audio sync is essential for dialogue-heavy content because nothing breaks the immersion faster than seeing lips move out of sync with the sound.
25.Vignetting
Another popular video effect is vignetting, which is the gradual darkening of the edges of your frame. It’s a pretty common effect that you’ve no doubt seen before, and in some cases, it can be natural due to lens limitations.
However, most of the time, you see it is in post-production to focus attention on the center of the shot. For example, in a portrait shot, you might add a subtle vignette to keep the viewer’s focus on the subject’s face while gently darkening the background.
Some filmmakers also use vignetting to create a vintage or cinematic look.
26.Fade In/Fade Out
Fades are the most popular transitions in video editing. With them, you can either slowly bring an image into view (fade-in) or take it out of view (fade-out).
You’ve seen this before in movies or videos that start with a black screen and slowly brighten into the first scene or when a video ends, and the screen gradually turns black.
They’re great transitions for many reasons, but especially for signaling the start or end of a video, like the opening credits of a film or the end of a documentary.
27.Tracking
Tracking shots are when the camera moves to follow a subject. This could mean walking beside them or following them down a hallway. The whole point is to make a video feel more immersive.
You’ve no doubt seen them in Hollywood chase scenes!
I recommend checking out the video below for more info:
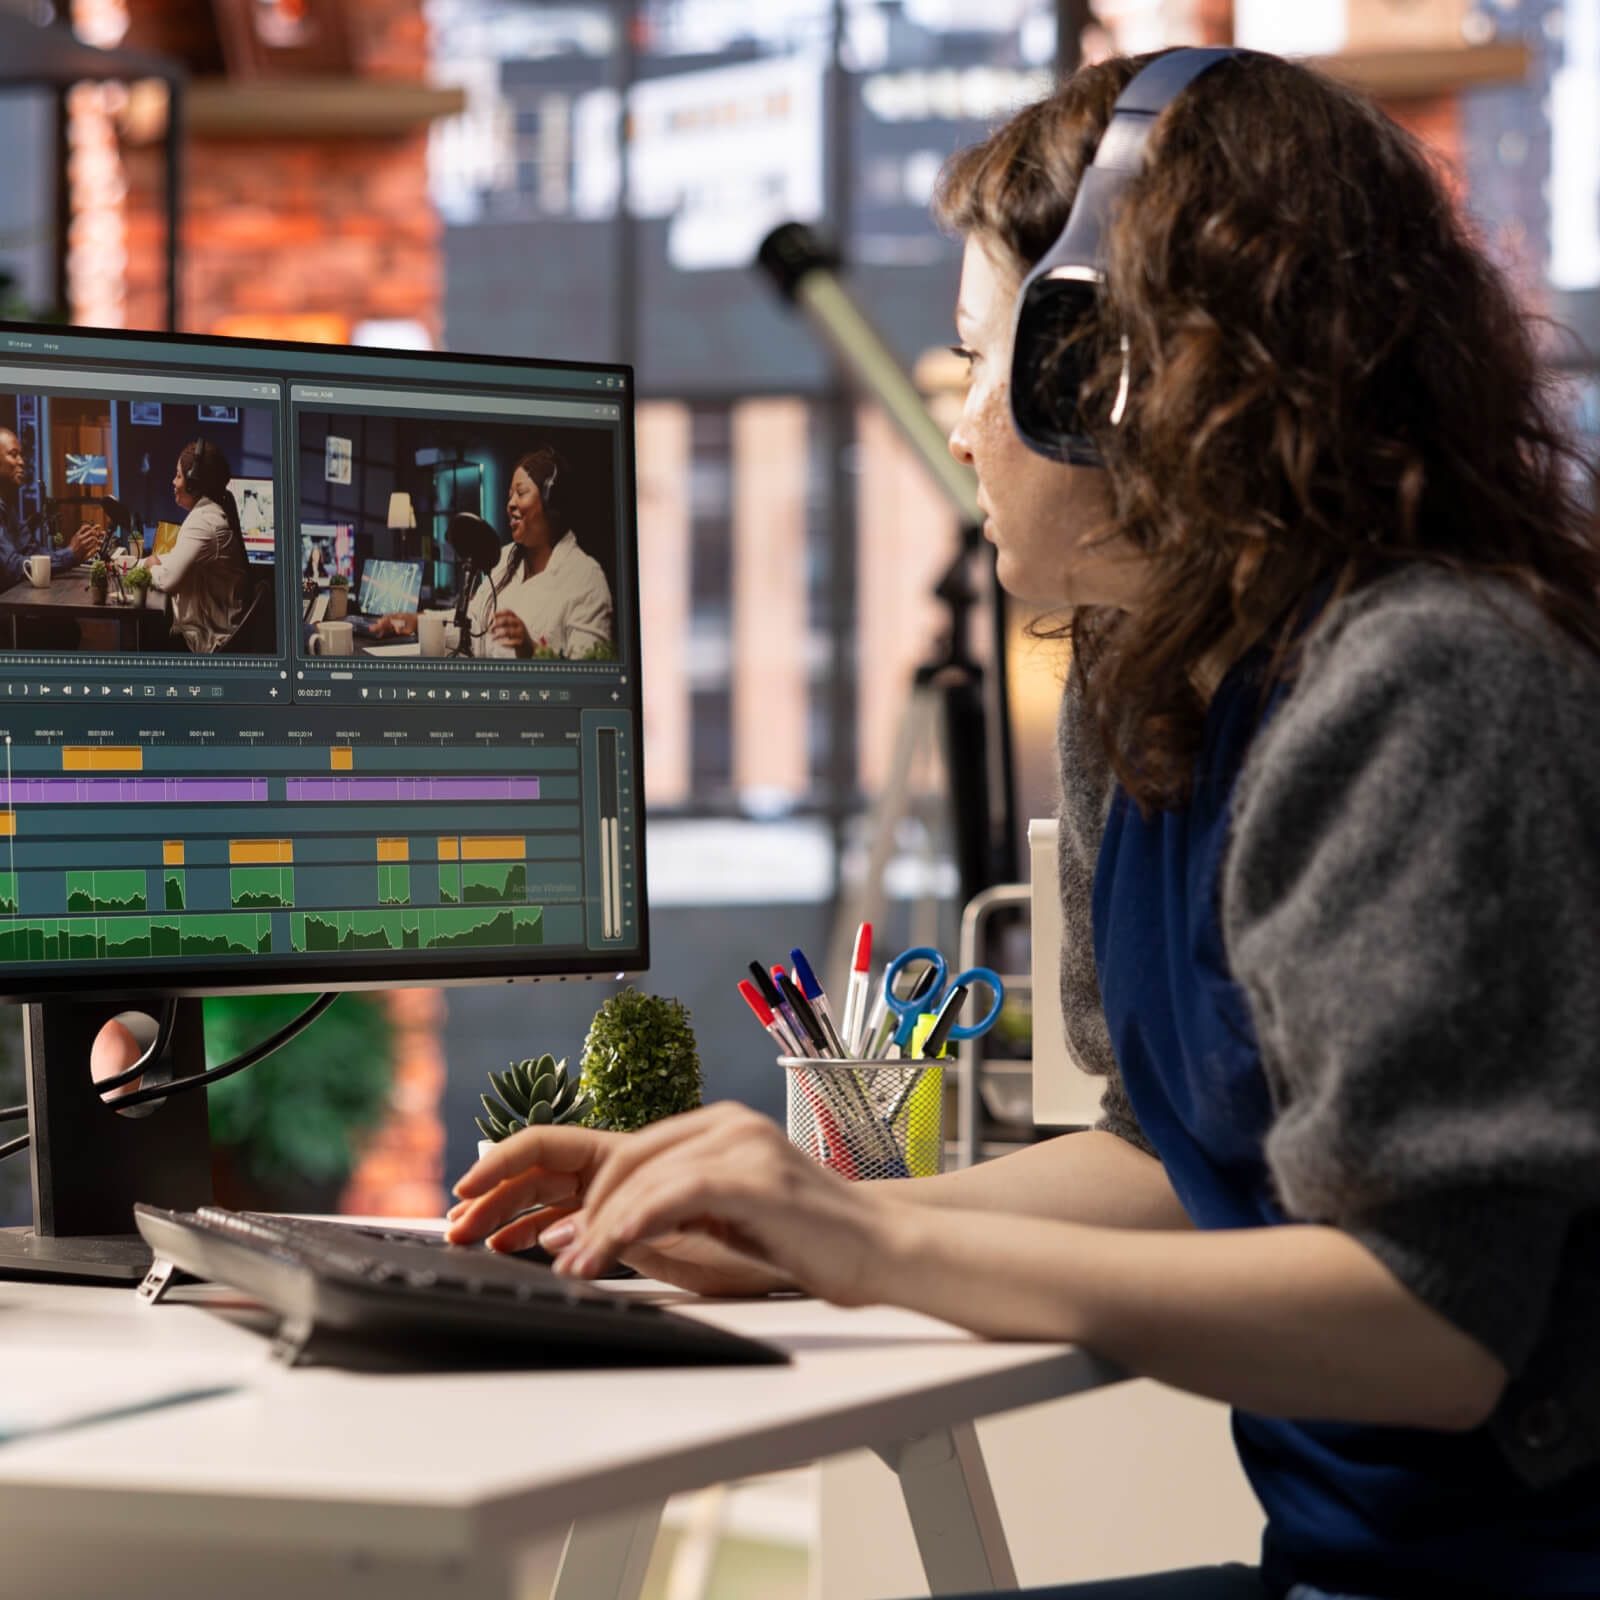
28.Timeline
The timeline in your video editing software is where all your clips, audio, and effects will live while you’re editing your project.
It’s a visual representation of how your video flows from left to right, and it’s where you can arrange and trim your clips to tell the story in the right order, add transitions, sync up music and sound effects, and add visual effects.
It’s the digital version of a film reel, but it's much more organized and user-friendly.
29.LUT (Look-Up Table)
A LUT (Look-Up Table) is a preset color grade you can apply to your footage to give it a specific look or style.
It's kind of like a filter on Instagram, but it's much more advanced! For example, you might use a "vintage" LUT to make your footage look like it’s from an old film or a "cinematic" LUT to add rich, movie-like colors to your shots.
LUTs are great for saving time and can be used creatively to help give your videos a unique look. This is especially great if you want a warm, moody look or a bright, high-contrast look in a split-second.
30.Render
It makes sense that we save rendering for last, as this is the process of converting all your edits into a final, shareable video. Once you’ve made all your cuts, added music, and applied effects, you render it into a single file for exporting.
Depending on how complex your project is, rendering can take a while. Once rendered, your masterpiece is ready to share with the world!
Take Your Videos to the Next Step with ProTunes One
Now that you’re familiar with a few of the major technical aspects of video production, you should have a decent foundation for creating compelling, professional-looking content.
In our eyes, however, there’s one crucial ingredient that ties any great video together: sound. That's also where the right music comes in. In the end, the right track can elevate your content, adding depth, emotion, and energy. So, why compromise?
Here at ProTunes One, we have an extensive library of background music tracks and a powerful AI-driven search engine to help you find the perfect match for your project. As an added benefit, you never need to worry about copyright or royalties.
Whether you're making YouTube videos, podcasts, ads, or just dreaming up your next viral TikTok dance, our flexible subscription plans adapt to your needs.
Get started now and find the perfect soundtrack for your next video project!