How to Use a Green Screen for Your Next Video Project
A green screen lets you replace any background with ease. Ensure it's well-lit and smooth, keep your subject at a distance to avoid shadows, and use software like Premiere Pro to edit in your desired scene. With practice, you’ll achieve pro-level results.
Table of contents
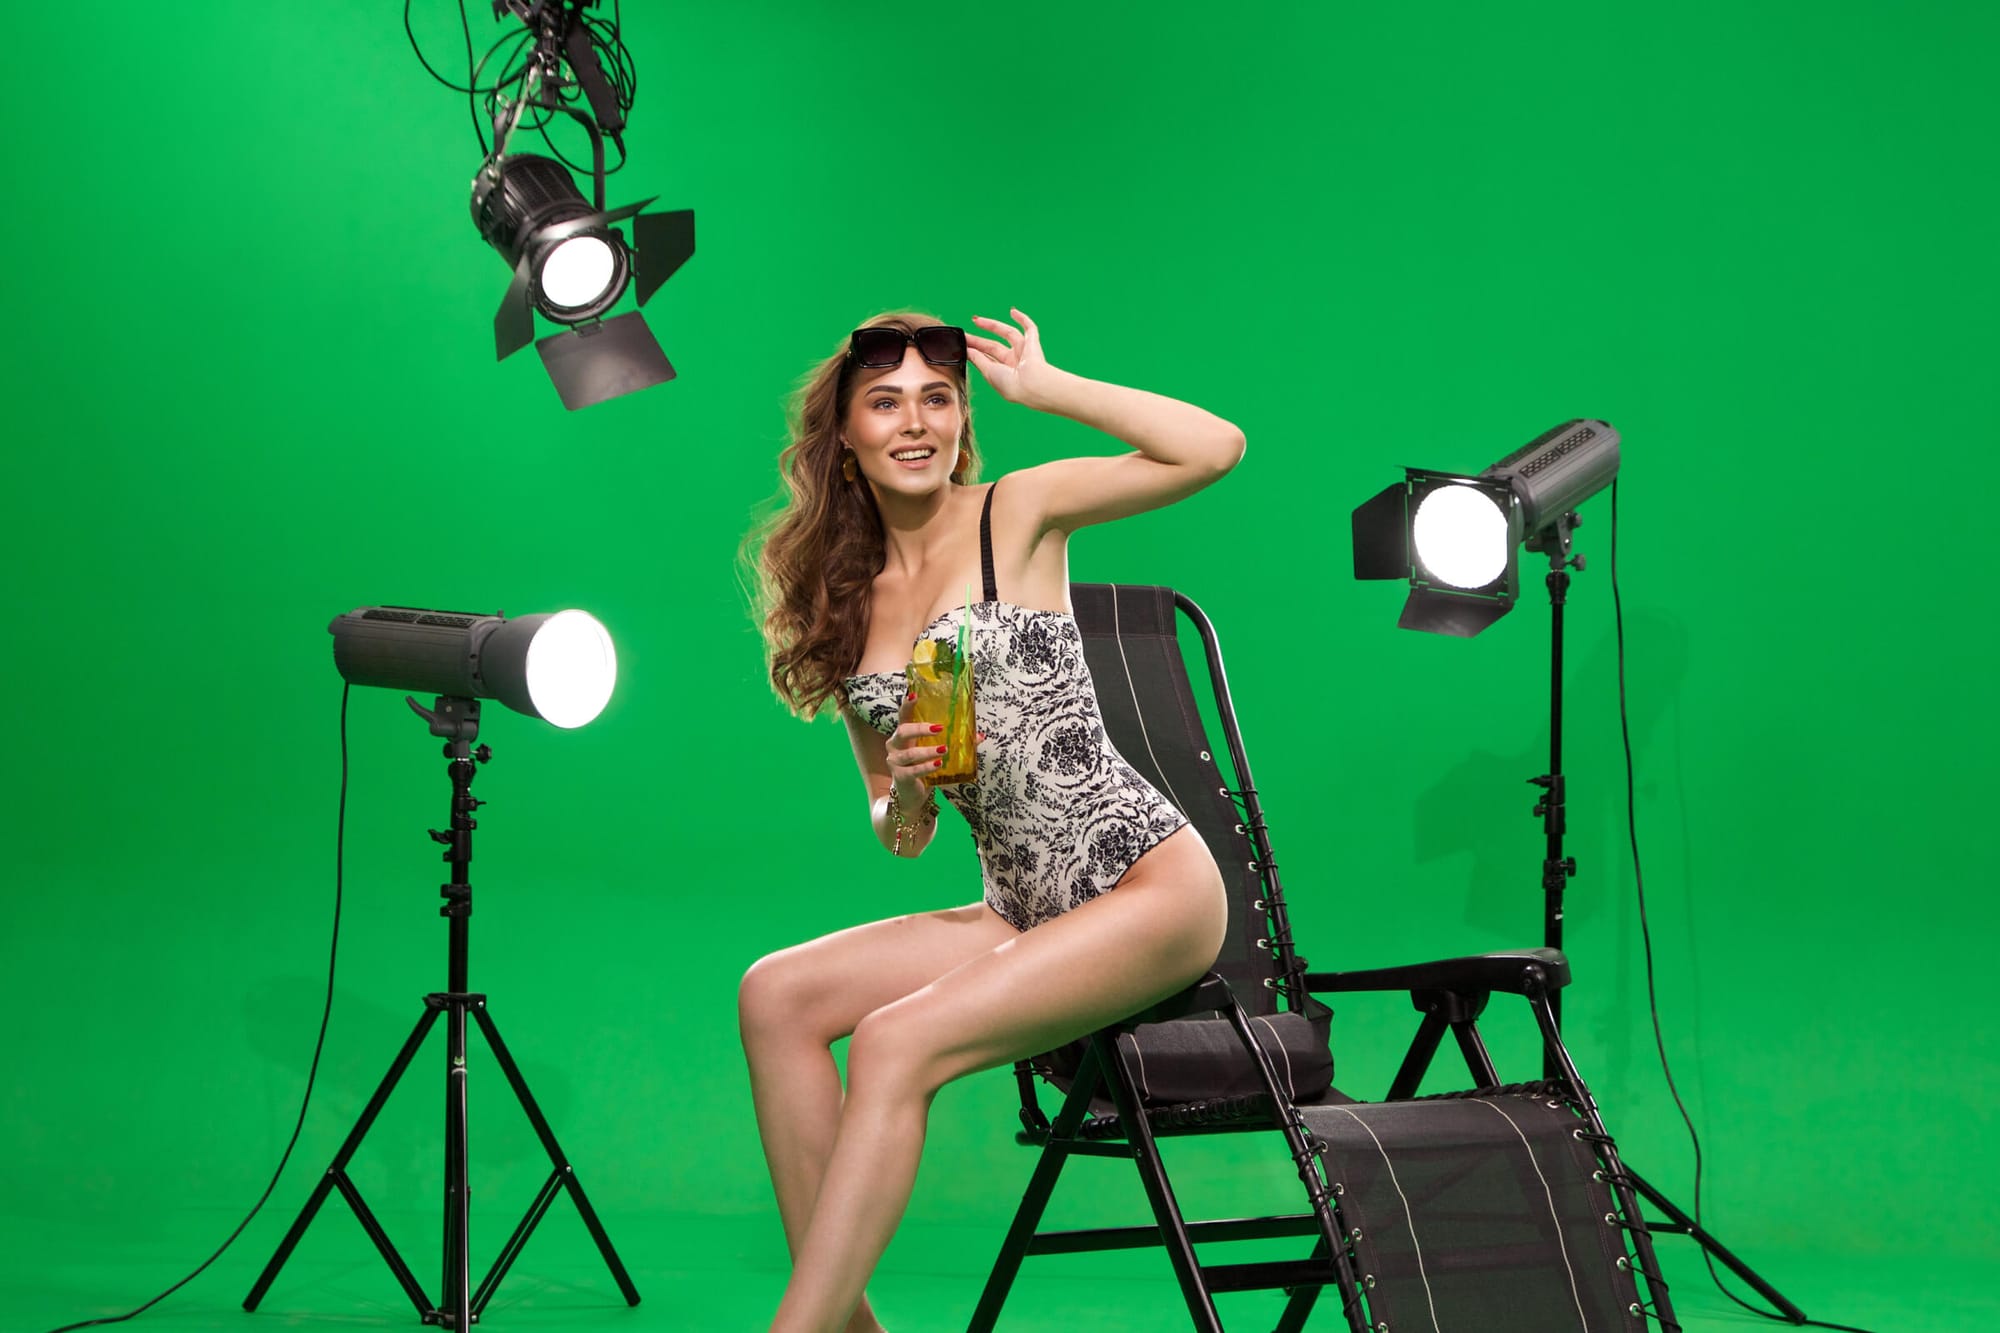
Video production has come a long way in the past few decades. From high-definition cameras to drones and even 360-degree video, the way we shoot and edit content has become pretty advanced. However, there is one key piece of revolutionary tech that really shook things up when it first came about, and that’s chroma key composition, better known as green screen technology.
Green screens have become one of the most widely used visual effects tools across the industry. In fact, certain major films you may know were shot entirely using green screen technology. From blockbuster movies to weather forecasts and live-streamed podcasts to YouTube vlogs, it’s an incredibly diverse and useful tool.
In this guide, I'm going to walk you through how you can make the most out of using a green screen for your next video project, whether you’re filming a feature-length sci-fi or just getting your couch out of your Zoom background.
Download the perfect soundtrack for your videos with ProTunes One
Sign up to access high-quality music for your projects.
Sign Up NowWhat Is a Green Screen?
While green screen technology might seem like a relatively modern invention, it actually has roots going back to the early 1900s. Back then, filmmakers used something called "traveling matte" techniques combined with optical printing. Basically, they’d shoot one scene on film, block out a part of it, and then layer that blocked-out area with footage from another shot. It was a clever workaround but extremely time-consuming and far from perfect.
It wasn’t until the 1950s, when the chroma key process was introduced, that green screen technology became the real deal. Instead of painstakingly blocking out areas by hand, chroma keying allowed filmmakers to isolate a single color (usually green or blue) and replace it with another background digitally.
So, what exactly is green screen technology?
In a nutshell, it’s a visual effects technique that replaces a solid-colored background (typically bright green, which is where we get the name) with any image or video of your choice. The computer software removes the green and slots in whatever you want behind your subject, whether that's a tropical beach or the surface of Mars.
Why Do We Use Green Screens?
So, why do we use green screens?
Simple — they save us a ton of time and money. Instead of building a detailed set or shelling out cash to rent a studio, you can just pop up a green screen, and suddenly, you have unlimited options. If you’re on a budget or tight schedule, it’s a no-brainer.
Sometimes, the perfect shooting location is either halfway across the world or ridiculously expensive. With a green screen, that’s not a problem. You can film "anywhere" without leaving your space, from the middle of Times Square to the surface of the moon.
Green screens are also super handy for providing on-screen information. Take newscasters, for example. They make a living standing in front of green screens with weather maps or graphics behind them. YouTubers often use green screens to add effects or switch up backgrounds without needing to redecorate.
It’s flexible, affordable, and makes you look like a pro.
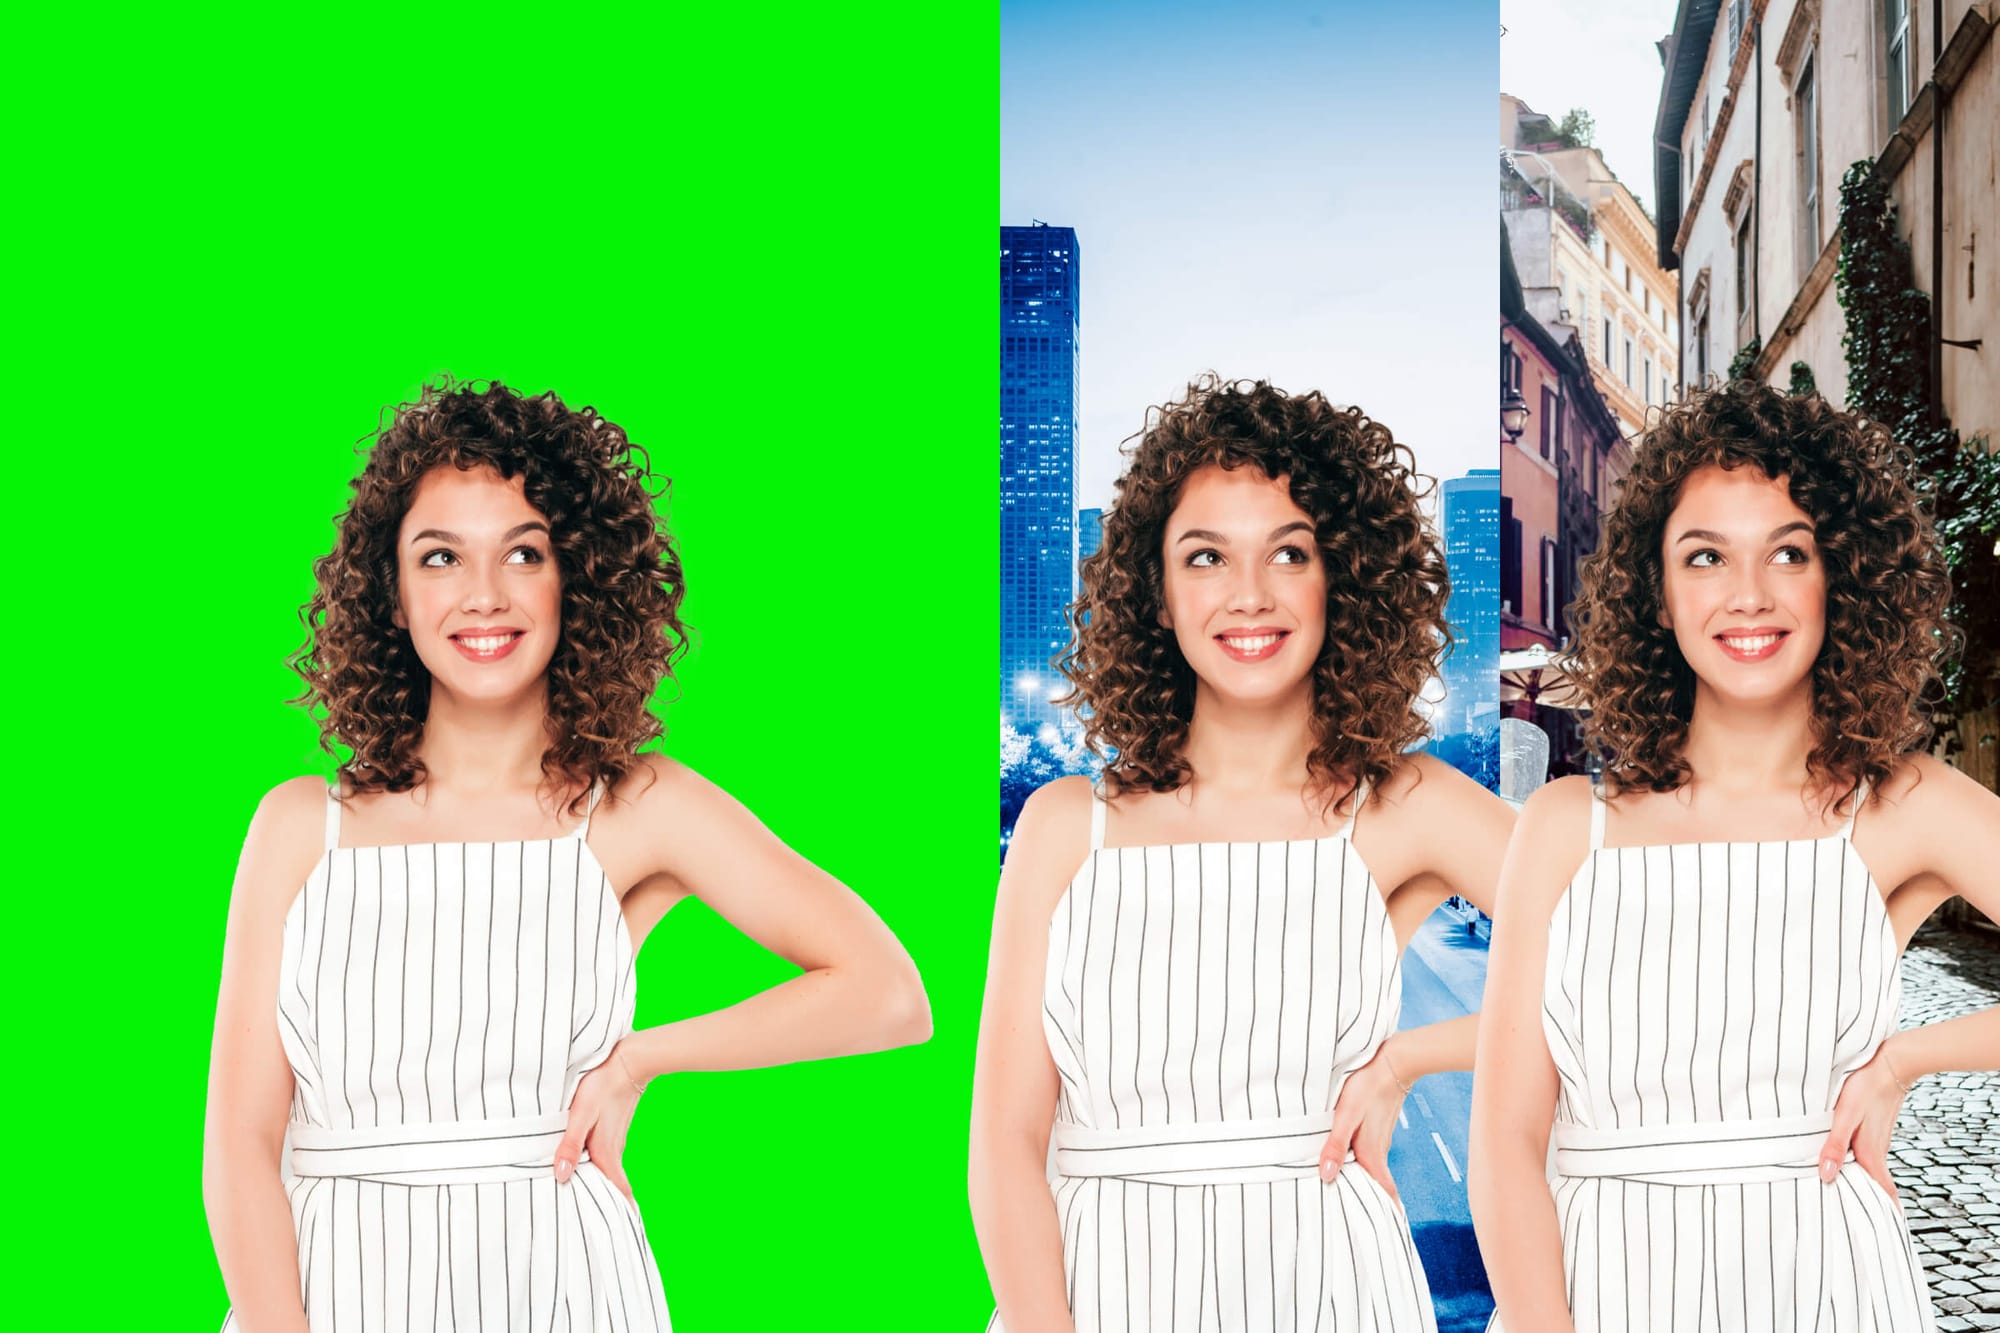
How to Use a Green Screen
Using a green screen might seem intimidating at first, but it's actually pretty simple.
Here’s a little step-by-step guide to get you going:
Set Your Screen Up
Before we dive in, here’s a quick checklist of the basics you’ll need to pull off that green screen effect:
- A green screen backdrop (duh)
- A sturdy stand to hold your green screen
- A camera (even your phone can work!)
- A tripod to keep the camera steady
- Good lighting (more on that in a bit)
- Editing software to key out the green (we’ll get there)
Now, the first thing to figure out is whether you’re shooting indoors or outside. This depends mainly on lighting. Indoors, you have full control over the lighting situation, which is a huge bonus, especially if you're new to green screens.
Natural light outdoors can be your friend, but only when it's not too harsh or inconsistent. For example, on a cloudy day, outdoor shooting can give you a nice, even light. But if the sun is blazing, it can cause shadows that will mess with your shot.
No matter where you shoot, using a tripod is key. Keeping the camera still ensures your subject stays centered, and the green screen fills the entire frame. If the green screen isn’t covering enough of the background, the effect won’t work.
Also, make sure your green screen is smooth. Wrinkles can cause shadows, which makes it harder to key out the green during editing. A quick steam or stretch should do the trick. You want that green to be as even as possible for the cleanest final product!
Dial In Your Camera
When shooting with a green screen, using a high-res camera is key. You’ll want to aim for at least 1080p resolution, though 4K is even better if you can swing it. The higher the quality, the cleaner the green screen effect will look in post-production. Lower-res cameras tend to struggle with picking up details, which can lead to a messy keying process where parts of the background don't get removed cleanly.
While most smartphone cameras can technically get the job done, they might not handle lighting or fine detail as well as a dedicated camera. So, if you can, opt for a DSLR or mirrorless camera to get the best possible quality!
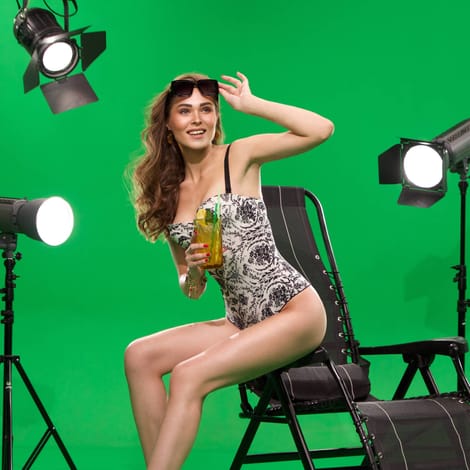
Set Up Your Lights
The more evenly lit your green screen is, the easier your life will be when it’s time to edit. If your lighting is off, you’ll end up with shadows, hotspots, or uneven patches that make it a nightmare to remove the background cleanly in post.
One of the most important things to remember is to light your green screen and your subject separately. You want your green screen to have an even wash of light without any shadows, while your subject should be lit in a way that matches the scene you plan to put behind them.
Pay attention to things like color temperature and the direction of the light. For example, if the background clip you’ll be using shows daylight with warm tones, make sure your subject's lighting matches that vibe. You don’t want your subject looking like they’re lit by candlelight while standing in front of a bright beach!
Get Your Subject In Position
Now that your screen and lights are set, it’s time to position your subject.
One key thing to remember is always to keep some space between your subject and the green screen. If they’re too close, you risk shadows falling on the green, which can make it harder to clean up in post. Plus, when your subject is too close, you can get green reflections on their clothes or skin called "spill," and that’s an editor’s headache.
If you’ve got a larger green backdrop, you’ll have more flexibility to put some real distance between your subject and the screen. But if space is tight, playing with your camera’s focal length can make a difference.
Remove Certain On-Screen Objects
Since green screen tech works by keying out a specific color hue (aka the chroma range), anything on the screen that’s the same shade of green is going to disappear along with the background. So, if your subject is wearing a green shirt, guess what? That shirt’s going to vanish into thin air, and you’ll end up with a floating head or some other unintended weirdness.
The further you can get from green (and blue if you're using a blue screen), the better off you are. Even a tiny bit of green on a prop, accessory, or piece of clothing can mess up your shot. Your subject and any other objects in the frame should stand out against the background.
Editing Your Green Screen Shots
With your footage in hand, it's time to bring it all together in post-production.
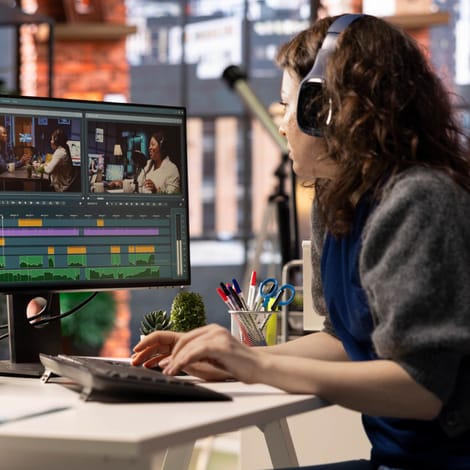
The first thing you’ll need is editing software with chroma key editing capabilities. Luckily, most major editing programs, such as Premiere Pro, Final Cut Pro, and DaVinci Resolve, are built for this.
Let’s take Premiere Pro as an example. Once you’ve imported your green screen footage, you’ll use the Ultra Key tool. Drop it onto your footage, click the eyedropper tool, and select the green background in your video. Boom! Just like that, the green is gone, and you can add any background you want.
Of course, you’ll need to tweak settings like transparency and matte cleanup to get it looking smooth, but it’s all pretty simple once you get the hang of it.
Final Thoughts
Hopefully, by now, you’ve got a solid grasp on how green screens work and how you can start using them in your own projects. They can offer a ton of flexibility for any video creator.
Of course, while a green screen can help you nail the visuals, don’t forget that sound is just as important.
The right music can take your video from good to great. Why settle for less?
Here at ProTunes One, you’ll find a massive library of background music tracks with a powerful AI-driven search to help you find the perfect soundtrack. No need to worry about copyright issues or surprise royalties, as with our music, you can publish your masterpiece anywhere, hassle-free.
Whether you're creating YouTube videos, podcasts, ads, or just daydreaming about your next viral TikTok, ProTunes One's flexible subscription plans have you covered.

