Essential Equipment for Creating High-Quality Social Media Videos: A Beginner’s Guide
To create high-quality social media videos, you'll need essentials like a good camera (even your smartphone), an external microphone for clear audio, proper lighting, and a stable tripod. With the right tools and editing software, you can produce professional-looking content that stands out!
Table of contents

Learning to make videos in 2024? You’re in luck, as it's never been easier. You’ve probably got a pretty decent camera in your pocket right now. Yep, that smartphone you’re holding is more powerful than some of the gear professionals were using not too long ago. So, technically, you're already halfway there!
But if you're looking to take your videos from casual to pro-level, that’s a whole different game. Sure, your phone can handle a lot. However, when it comes to making really high-quality social media videos, there are some extra tools you’ll want to have in your arsenal.
In this guide, I’ll walk you through the essential gear you need to step up your content creation and produce polished, professional videos.
Best Tools to Create High-Quality Videos

You can probably guess the type of tools you’ll need to start recording video, such as a camera, a microphone, and some lights. Pretty standard stuff, right? However, I didn’t make this guide just to list gear. Instead, I’m also going to explain why each of these items is essential and what to keep in mind when choosing them.
Let’s start by exploring the hardware essentials.
Download the perfect soundtrack for your videos with ProTunes One
Sign up to access high-quality music for your projects.
Sign Up NowHardware
First off, having the right hardware is important when making videos. Good in, good out. If you don’t have quality tools to capture your content, you won’t have a quality final product.
So, carefully selecting your equipment based on your needs and goals is key. Let’s take a look at some of the most important hardware you’ll need to get started.
Camera
Let’s talk cameras. While you might eventually want to upgrade from your smartphone, there’s no rush if you’re just starting out. Many newer smartphones come with plenty of storage and can even shoot in 4K, which is more than enough to get your feet wet.
But when you're ready to take things up a notch, an actual camera offers many advantages. For one, cameras tend to perform better in low-light situations, which can be huge if you’re shooting indoors or at night. Plus, they often capture close-up shots with more detail than most smartphones.
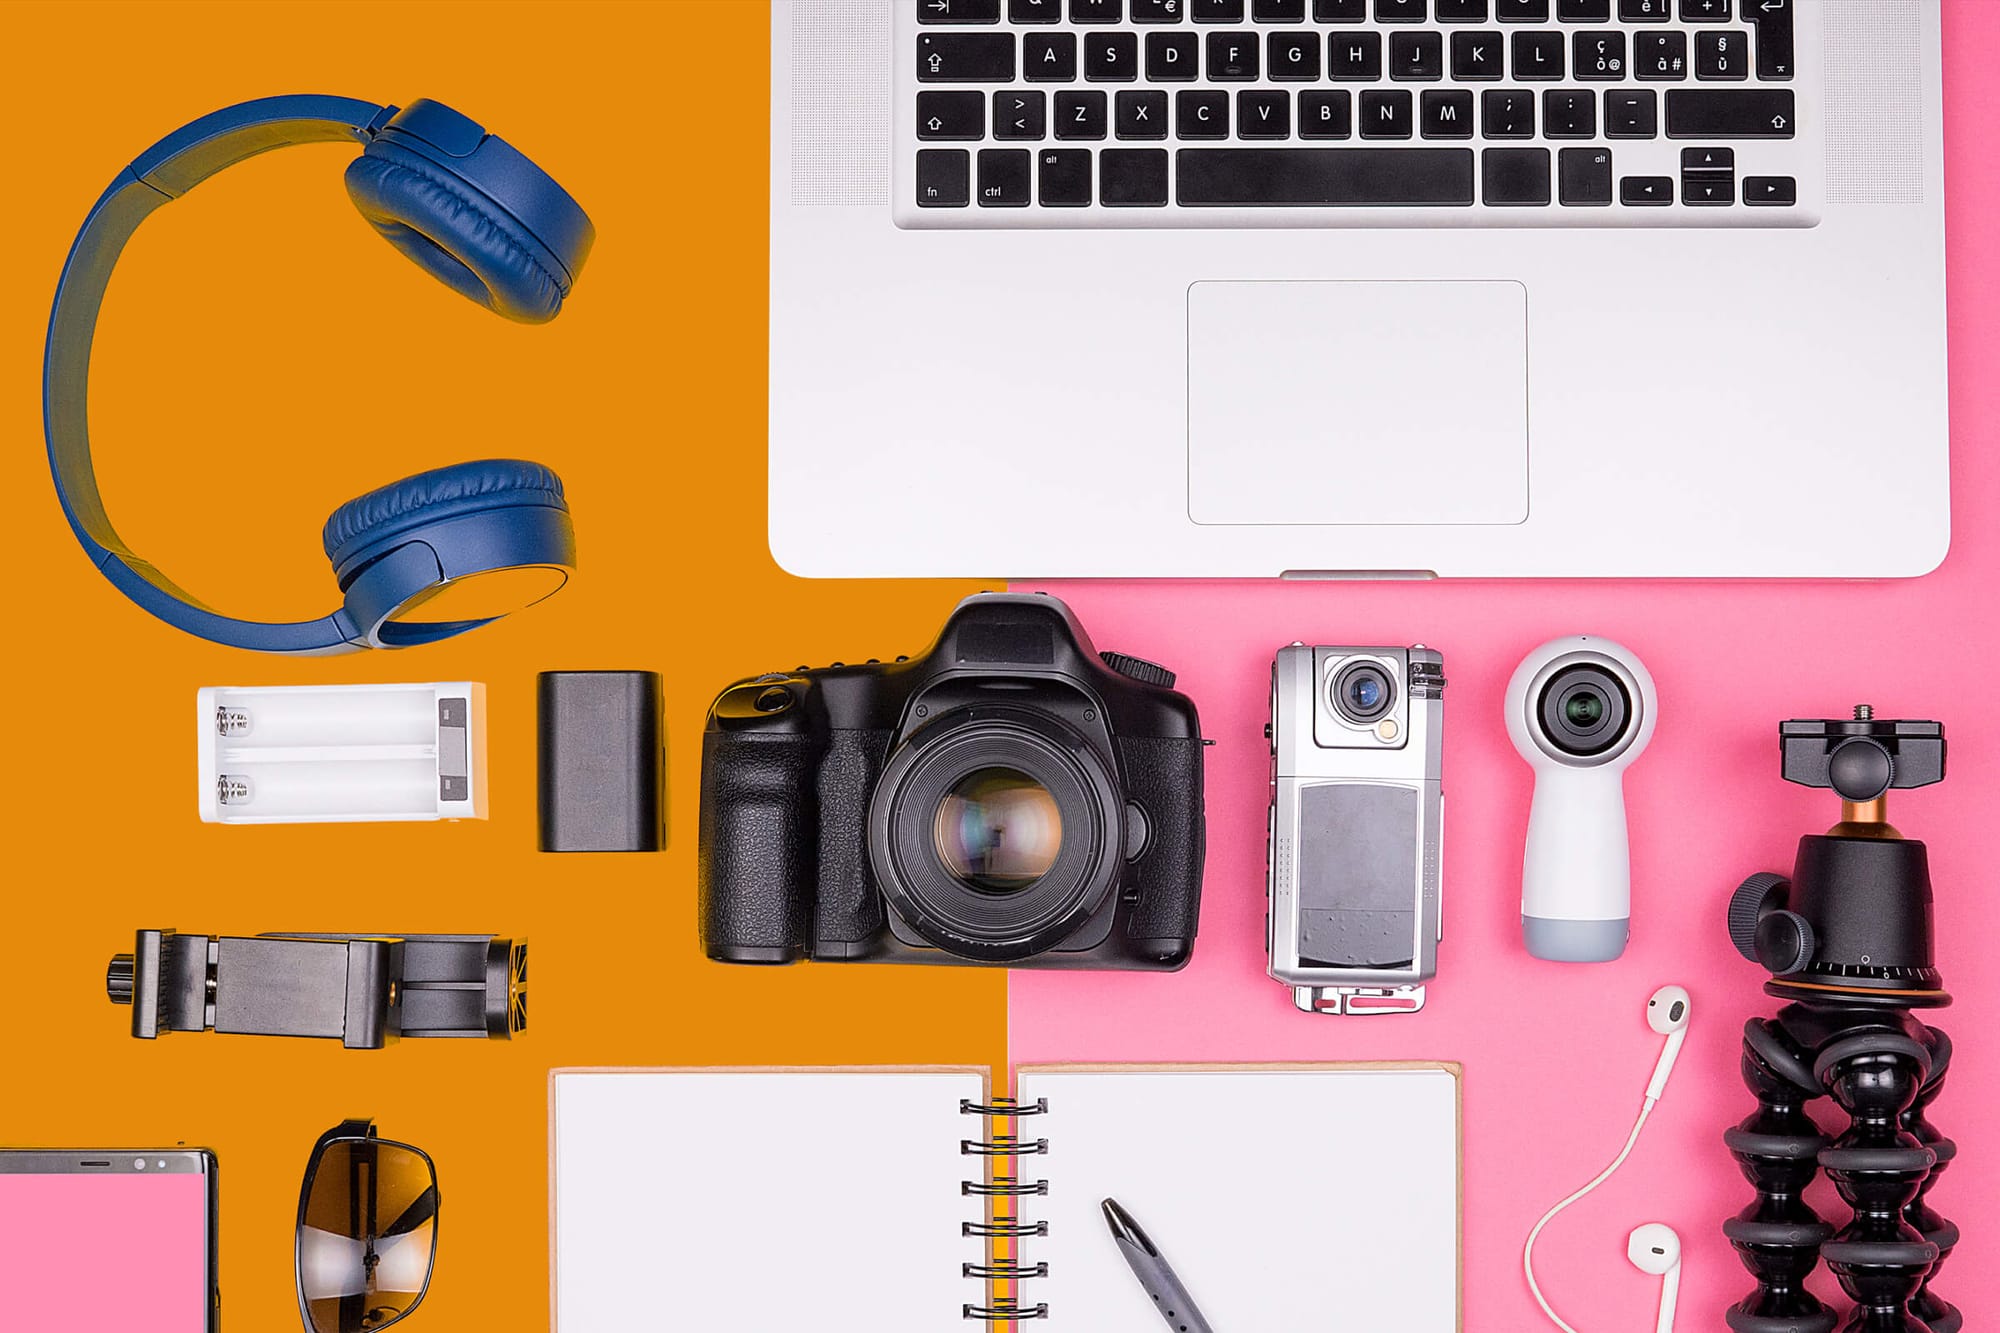
Here are a few types of cameras to consider when you're ready to invest:
- DSLR: Super versatile and great image quality. These are a classic choice for video.
- Mirrorless: Lighter and more compact than DSLRs, they also offer fantastic video quality and perform better in low light. Mirrorless cameras use electronic viewfinders or just the LCD screen, which makes them more portable.
- Point and Shoot: These simple and portable cameras are great for creators who want something better than a phone without too many bells and whistles. Plus, they often come with autofocus features, which are perfect for beginners.
- Action Cameras: Think Go-Pros! These are perfect for capturing fast-moving or outdoor activities. Plus, they’re far more rugged than your average camera. With built-in stabilization and waterproof features, we recommend them for action shots, sports, or outdoor content.
- Smartphone Gimbals: While not a camera itself, a gimbal is a solid accessory for smartphone users. If you plan to film using your phone but want to avoid shaky footage, a smartphone gimbal will stabilize your shots, allowing for smooth, cinematic video. They’re particularly useful for walking or running shots, and many are equipped with features like auto-follow or tracking modes.
Camera Settings and Tips
Understanding your camera’s settings is important for getting the best possible footage. Here are a few key settings you’ll want to familiarize yourself with:
- Frame Rate: The frame rate controls how many frames your camera captures per second. You’ll typically use 24 frames per second (fps) for smooth, cinematic video. However, if you're aiming for slow-motion shots, you must increase your frame rate to 60 fps or higher. For fast-moving action, a higher frame rate ensures the movement looks smooth and fluid.
- ISO: ISO is a measure of your camera's sensitivity to light. A low ISO (e.g., 100 or 200) is ideal in bright conditions, as it reduces noise and grain. However, in low-light conditions, you may need to increase your ISO (e.g., to 800 or 1600) to make the image brighter.
- Shutter Speed: Shutter speed determines how long your camera's sensor is exposed to light during each frame. A good rule of thumb for video is to set your shutter speed to double your frame rate. So, if you’re shooting at 24 fps, your shutter speed should be set to 1/50. This creates a natural blur in moving objects and gives your video a more cinematic feel.
Microphone
While your camera may have a built-in mic, relying on it for audio is kind of like using your phone's flashlight on a movie set. Technically, it works, but you can do way better. An external microphone can drastically improve your audio quality, making your videos sound professional, which is just as important as looking good on screen.
So, what makes external mics better?
Beyond the fact that they can capture crisp, clear sound, they also reduce unwanted background noise that your camera’s mic can struggle with. Audio is half the video experience, so upgrading your mic is definitely worth it.
When choosing a microphone, there are three key things to consider:
- Form: Do you want something that attaches to your camera, clips onto your shirt, or sits on a desk? The form of the mic depends on how and where you plan to record.
- Polar Pattern: This refers to how a mic picks up sound. For instance, cardioid mics capture sound from the front, which is great for isolating your voice. Omni mics pick up sound from all directions, which is ideal for interviews or group settings.
- Transducer Types: This just means how the mic converts sound into an electrical signal. The two main types are dynamic and condenser, which brings us to my next point...
You’ll also need to choose between condenser and dynamic mics. Condenser mics are more sensitive and capture a wider range of frequencies, making them perfect for indoor settings where you want every detail.
Dynamic mics, on the other hand, are more durable and better for louder environments, making them great for outdoor shoots or places with a lot of background noise. Each has its strengths, so it depends on where and how you’ll be recording.
Some of my favorite options for condenser microphones include:
- Audio-Technica AT2020: This budget-friendly condenser mic has a cardioid pattern and is great for voiceovers, interviews, or recording music.
- Rode NT-1 A: With ultra-low noise, this condenser mic works wonders for detailed audio work, whether you’re recording music or podcasts.
In terms of dynamic microphones, I recommend looking at the following:
- Shure SM58: This classic mic has become a staple in live sound and video. It’s super durable and can handle high sound pressure like a champ. It’s a great choice for shooting outdoors or in busy locations.
- Shure SM7B: You’ve likely seen this mic in your favorite video podcasts. It’s a go-to for studio-quality vocals. Best of all, it comes with a built-in pop screen to keep your audio free of unwanted plosives and sibilance.
Additionally, there are other types of microphones you might consider:
- Shotgun mics: These are highly directional and capture sound from a specific source. We recommend them for outdoor shoots, when capturing sound from a distance, or when you want to isolate a single voice in a noisy environment.
- Lavalier mics: These small, clip-on microphones are perfect for interviews or talking-head videos where you need the hands-free convenience of capturing clear, focused audio without having a mic in the frame.
Headphones
Headphones might not be at the top of your list, depending on the type of videos you're shooting. However, they can come in handy, especially when you need to monitor your audio in real-time.
They let you hear exactly what your audience will hear, helping you catch any weird background noises or audio issues before they become a problem.
They’re also great for editing and mixing your videos, giving you a much clearer idea of how everything sounds in greater detail. While your AirPods or similar earbuds can work in a pinch, if you're serious about making high-quality content, a more professional pair is worth considering.
Here are a few solid, not-so-expensive options:
- Sony MDR-7506
- Audio-Technica ATH-M50x
- Sennheiser HD 280 PRO
Any of these will give you a better sense of how your videos sound.
However, if you’re looking for something more budget-conscious, I recommend checking out the Samson SR850s. They’re surprisingly high-quality, considering the lower price point.
Tripod
A tripod is one of the most valuable tools you can have in your arsenal, especially if you’re flying solo. It keeps your shots steady, lets you set up consistent angles, and frees up your hands so you can focus on creating, not holding your camera.
Plus, using a tripod gives your videos a smoother, more professional look that handheld filming can sometimes lack.
There are many types of tripods to consider, including full-sized tripods, tabletop tripods, gorillapods, and monopods, each of which has its own benefits. The one you’ll pick will depend on how and where you’ll be filming.
For more advanced tripod options, we recommend fluid-head tripods. These are great for smooth, cinematic movements, especially when panning or tilting a lot. On the other hand, you can also consider tabletop tripods, which are perfect for small-scale setups, especially for desk-based content or vlogging.
Lighting
Even if you’ve got the best camera money can buy, nothing beats good lighting. Lighting can make or break a video. It’s what separates a professional-looking video from something that feels homemade. Unfortunately, that overhead lighting in your house is not going to cut it.
The type of lighting you choose will depend on the videos you’re making, but at the very least, I recommend starting with a ring light. They’re lightweight, inexpensive, and can be set up just about anywhere.
For a more professional setup, consider a three-point lighting system, which uses a key light, fill light, and backlight to create depth and reduce harsh shadows. Backlighting helps separate the subject from the background, adding a cinematic look. To soften and diffuse light, use a diffuser to reduce the harshness of direct light.
Software
While hardware is key for capturing your videos, software is where the magic happens. It’s what we use to transform raw footage into something ready to share with the world.
Without the right editing tools, even great footage can fall flat.
We need it for editing, color correcting, and adding those final touches to make your videos stand out.
Great software also allows you to do all the important things, like adding music, voiceovers, transitions, text, and overlays. At its most basic, it helps you split and trim your clips, stitch them together, and make your video flow from start to finish.
Here are a few of my favorite video editing tools:
- Final Cut Pro: A professional-grade editor with endless advanced features yet still user-friendly. I highly recommend it for Mac users who want a powerful yet intuitive tool.
- Adobe Premiere Pro: This is the industry standard for video editing. It’s incredibly versatile and integrates with other Adobe products. It is perfect for creators who need all the bells and whistles.
- CapCut: A solid choice for beginners and mobile users. It’s simple, free, and offers plenty of editing options right on your phone.
- Wondershare Filmora: Great for beginners and intermediate editors as it offers a nice balance of features without feeling too overwhelming.
- iMovie: A free, easy-to-use option for Mac users. It’s perfect if you’re starting out and need to learn the basics without being bombarded by advanced features.
If you’re working from your phone, mobile apps like InShot or LumaFusion provide powerful editing tools on the go. Both offer tools to split clips, color grade, and add transitions. If you're just starting out, plenty of tutorials are available for each of these tools.
In terms of audio editing, Audacity or Adobe Audition are great for removing background noise and getting the best sound quality. These programs also have plenty of audio synchronization tools to ensure your external microphone’s audio is perfectly aligned with your video footage.
Advanced Tips for Shooting High-Quality Social Media Videos
Beyond having the right equipment, getting the best quality video means knowing what kinds of shooting and editing techniques you can use to elevate your content. That’s why we want to take a look at some key elements of composition, color grading, and stabilization to help you get the most professional-looking videos every time you shoot.
Composition Tips
First off — composition is key. Here are a few techniques to keep in mind:
- Rule of Thirds: Imagine your frame divided into a 3x3 grid. It’s always good to place your subject along the lines or at the intersections for a balanced and aesthetically pleasing shot. Check this video out for more info!
- Leading Lines: You can use natural lines in your scene (like roads, bridges, or architectural features) to guide the viewer’s eye toward the focal point of your video. Leading lines are great for directing attention and creating a sense of depth to make your shots feel more dynamic and intentional.
- Framing: Frame your subject within the shot in a way that feels balanced. Using objects in the scene (like doorways or windows) is common to create a natural frame around the subject.
Camera angles can also have a huge impact on how your video looks. For example, neutral eye-level shots can help establish a connection with your audience, perfect for interviews or personal vlogs, while low-angle shots can help the subject appear larger or more powerful.
Download the perfect soundtrack for your videos with ProTunes One
Sign up to access high-quality music for your projects.
Sign Up NowColor Grading
Color grading is when you adjust the colors in your video to achieve a certain mood or tone.
For instance, cooler tones (blues and greens) create a calm, serene atmosphere, while warmer tones (reds and yellows) give video energy or warmth. Consistency is important, as you want your video from top to bottom to have a cohesive feel.
One of the best free tools for color grading is DaVinci Resolve. There are plenty of powerful features for color correction and grading and plenty of tutorials online for beginners to learn the basics.
If you're using built-in software like iMovie or Adobe Premiere Rush, there are also simple color correction tools that allow you to adjust contrast, brightness, and saturation to improve your footage.
Check out our color grading vs. color correction article to learn more!
Stabilization and Smooth Shots
Shaky footage can make your video feel unprofessional, and that’s why many social media content creators use gimbals and stabilizers.
We briefly talked about gimbals, handheld devices that use motors to stabilize your camera, but there are also stabilizers, which can reduce camera shake without motorized components. These are usually more affordable, which makes them great for beginners.
Additional Gear to Consider for Special Projects
If you want to get serious about creating social media videos, it’s a good idea to look beyond the basics. Here’s some gear that’s good for special projects or more complex shoots:
Green Screens and Background
Green screens are used to create virtual environments and add special effects to your videos. With a green screen, you can replace the background with anything you want, whether it's a virtual set or custom graphics.
The process of replacing the green screen is called chroma keying. By filming against a solid green (or blue) backdrop, you can easily remove that color in post-production and replace it with your desired background. This technique is pretty popular in movies, TV shows, and even professional YouTube videos.
If you plan to use a green screen, it’s important to have good lighting, so make sure to refer to the lighting section above. You’ll need to evenly light the green backdrop and the subject to avoid shadows or color spills that can complicate the chroma keying process. It’s equally important to use a quality green screen fabric.
Check out our in-depth article that looks at how to use green screens when filming.
External Monitors
While using your camera's LCD screen or smartphone to frame shots might work in some situations, external monitors can be great for shot composition, focus, and framing. You can connect an external monitor connected to your camera to give yourself a larger, more detailed view of your shot.
This is especially useful when shooting at wider angles, in low light, or when you’re shooting solo.
These monitors typically offer better color accuracy and the ability to zoom in on your subject to check focus, which can be difficult with smaller screens. They also often include focus peaking and waveform displays, which help you ensure your image is sharp and properly exposed so you don’t need to reshoot.
Portable Power Banks
If you plan on filming for extended periods, especially outdoors, portable power banks or extra batteries are necessary. Filming video can quickly drain your camera or smartphone's battery, and the last thing you want is for your equipment to run out of power in the middle of a shoot.
It’s always a good idea to have a power bank on hand so you can continue filming for longer stretches without interruption. Many power banks are compact and lightweight, making them easy to carry in a small bag. The best ones can give you enough power to recharge your camera or smartphone multiple times.
Final Thoughts
Hopefully, this little video-making gear rundown gives you everything you need to start shooting like a pro! Now, let’s talk about something just as important — music. The right track can take your content from good to great, so why settle for anything less?
That’s where ProTunes One comes in. With an extensive library of background music tracks and a powerful AI-driven search, you’ll find the perfect match for your project in no time. Plus, with ProTunes, you never have to worry about copyright infringement or paying royalties. Everything is fully licensed and ready to go.
Whether you're creating podcasts, ads, YouTube videos, or TikToks, we offer flexible subscription plans that fit your needs. All of our music is produced in fair collaboration with talented artists who provide loops as source material, and we share the revenue with them. So not only do you get high-quality tracks, but you’re also supporting creators behind the scenes.
Get started today!


