Color Grading vs. Color Correction - What's the Difference?
Discover the key differences between color grading and color correction, two essential techniques in video editing that help bring your footage to life. Learn how each process enhances your videos, from correcting natural colors to adding creative flair, and get tips to improve your workflow.
Table of contents
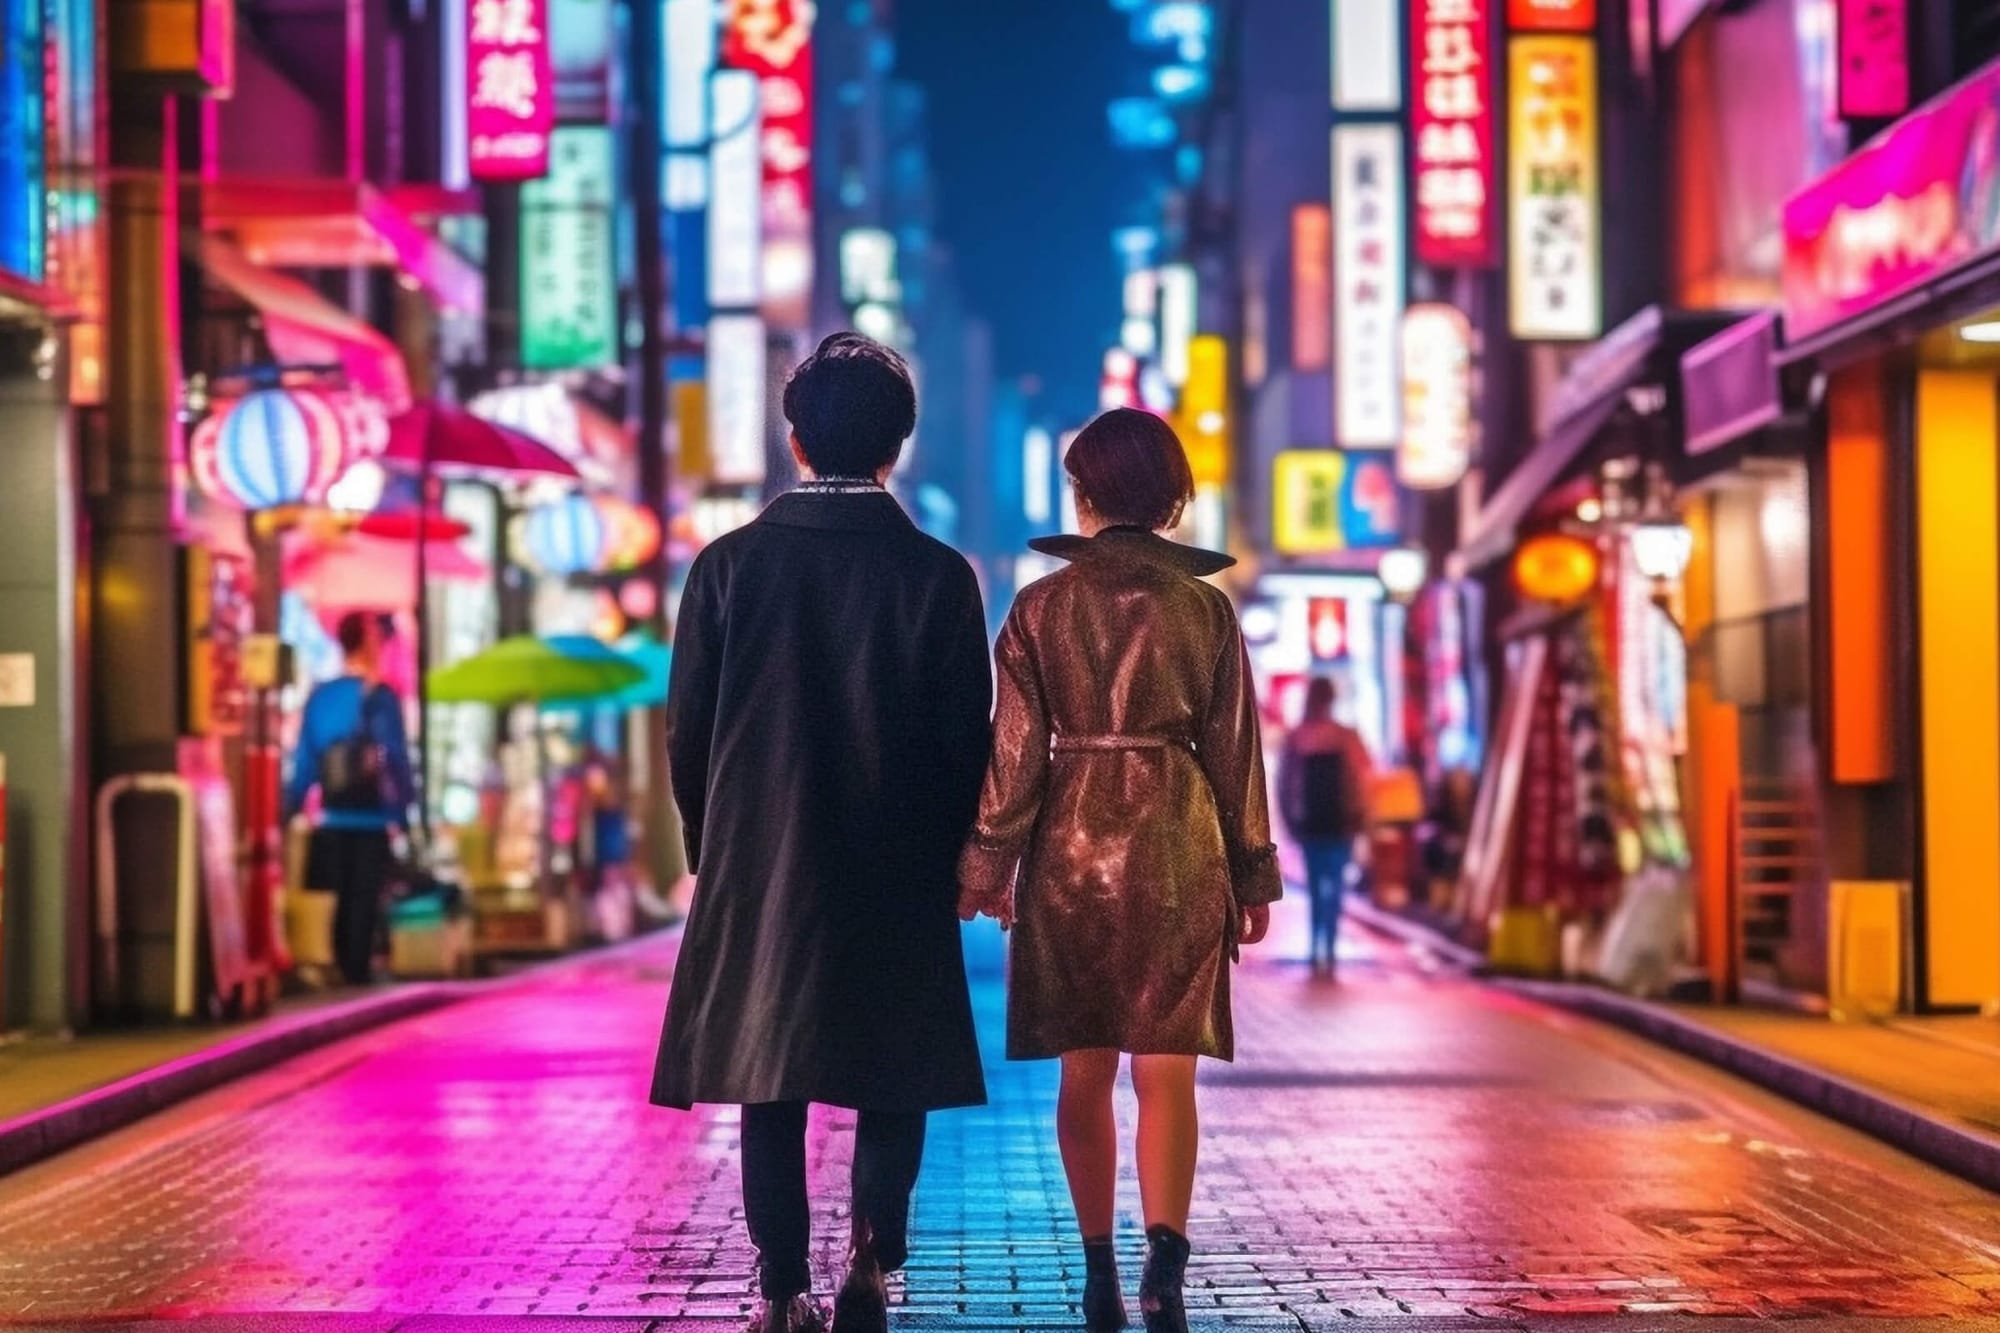
Unfortunately, the camera gods have yet to bestow upon us a camera that sees colors quite like we do. No matter how fancy your gear is or how many megapixels it boasts, our cameras still can’t mimic the magic of the human eye.
You could nail every element when filming (perfect lighting, spot-on white balance, the whole shebang), but your footage can still end up looking a bit…off.
Why? Because raw video tends to capture the world a little differently than how we see it in real life. That’s why we often have to make color adjustments in post-production, two of the most important post processes of which are color grading and color correction.
But just what is the difference between these two, and why should you care?
In a nutshell, color correction is the process of getting the most natural, true-to-life colors. We get a good base foundation by fixing any issues with exposure or white balance. Color grading, on the other hand, is where we get creative with the mood or style of our footage by tweaking colors to create a specific look.
Of course, that’s just the tip of the iceberg, which is why, in this article, we’ll break down both processes, explain why they’re different, and give you some tips on how to use them to make your videos pop.
Download the perfect soundtrack for your videos with ProTunes One
Sign up to access high-quality music for your projects.
Sign Up NowWhat Is Color Correction?
Let's kick things off with color correction because, more often than not, it's the first step in the post-production color workflow.
When you pull up your raw footage, you might notice the colors don’t look like they should. Maybe they’re too blue, too green, or the saturation is all over the place. That’s pretty standard, especially since raw footage isn’t usually screen-ready straight out of the gate.
When you color correct, you adjust parameters like saturation and exposure to make your footage look natural, more like how your eyes would see it. In the simplest terms, the goal is to fix any inconsistencies that the camera couldn’t quite get right.
For instance, say your shot looks a little too cool. Maybe there’s a bluish tint that you know wasn’t there in real life. In this case, you’d warm up the image by tweaking the white balance to bring back those natural tones.
How to Color Correct: A 5-Step Breakdown
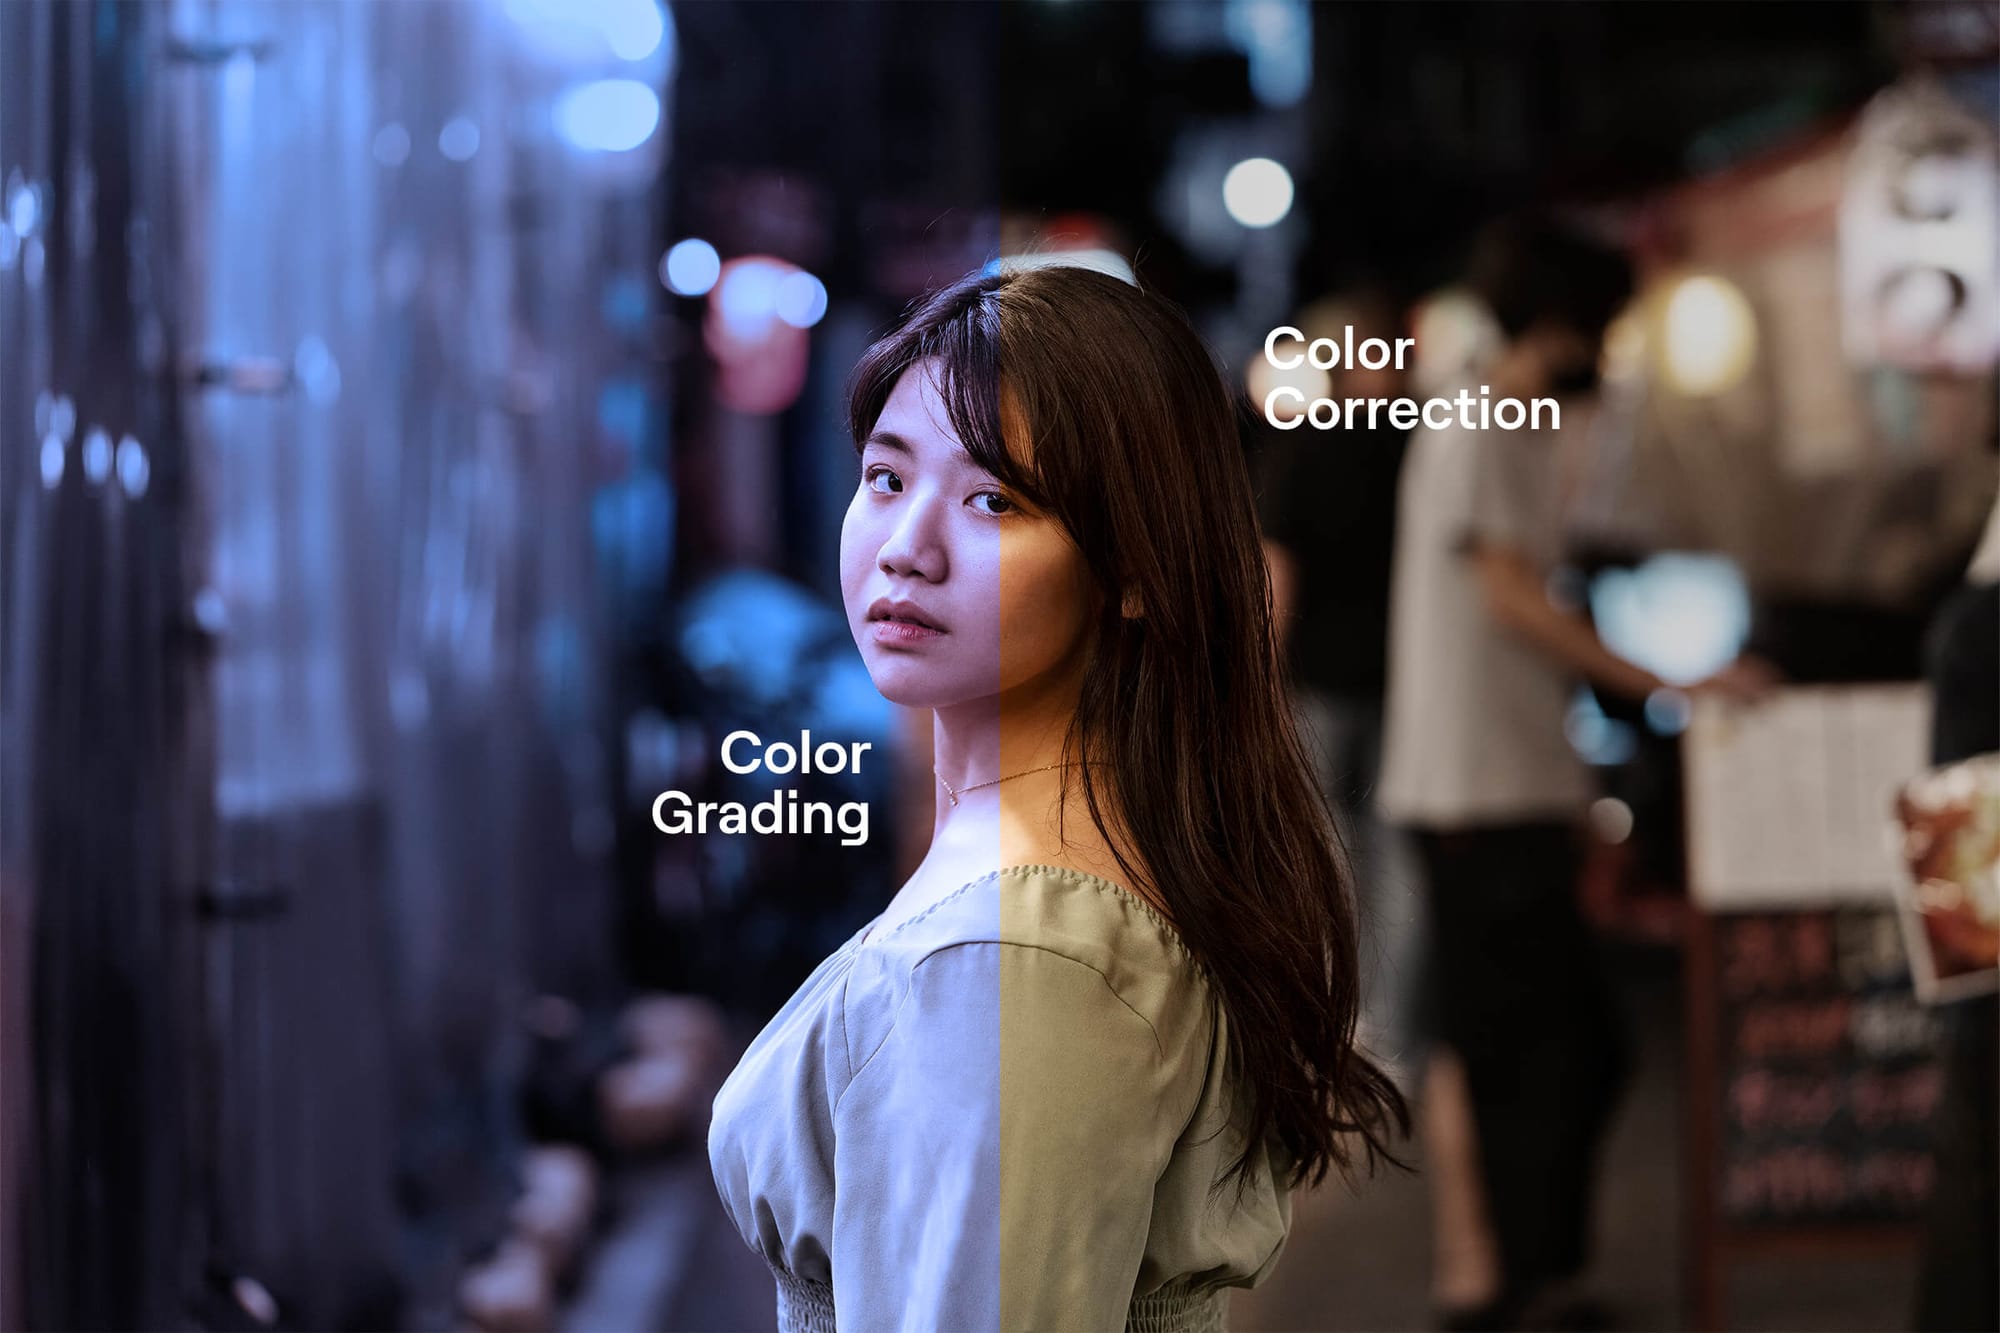
If you’re just starting out with video editing, it’s best to keep things simple. For that reason, I’ve broken the process down into five steps:
- Step 1: Set Your White Balance: If your footage is looking too warm or cool, you can make it more realistic with a white balance adjustment.
- Step 2: Adjust Exposure and Contrast: Next, you can make sure your video isn’t too bright or dark using exposure to change the amount of shadows or highlights you’re getting with contrast.
- Step 3: Balance the Shadows, Midtones, and Highlights: Tweak these levels individually to make sure each has the perfect amount of detail.
- Step 4: Fix Saturation Levels: If your colors look a bit flat, you can add some saturation. Just be careful not to go overboard.
- Step 5: Apply Noise Reduction if Needed: If you notice any grain or noise creeping in after making these adjustments (especially in low-light shots), you can level it out with noise reduction tools.
Now, depending on your experience level, there might be a few extra steps to consider, like adjusting your color curves or refining specific color channels. But for a straightforward comparison and to get you started, these five steps should cover the basics.
What Is Color Grading?
Once you've got your color correction locked down, it's time to move on to the next step: Color Grading. This is the creative part of the process. Unlike color correction, which is used to make your footage look natural, color grading is meant to shape the aesthetic of your video.
Now, if your goal is an ultra-realistic video, you might actually skip this step. A documentary, for example, might need to be as true to the human eye as possible, and you may not want to mess with the colors beyond basic correction. But if you want to give your video a specific vibe or emotional tone, color grading is your playground.
For example, you can give your footage a warm, golden hue to make it feel more nostalgic. It’s hard to think of a better example than Wes Anderson’s “Moonrise Kingdom.”
Of course, you might go the opposite way and go for a cold, desaturated look with lots of blues and grays for a somber, dystopian vibe. One great example is Yorgos Lanthimos’ “The Lobster.”
You don’t even have to color grade an entire scene, either! Sometimes, colorists will use it to guide a viewer’s attention by subtly highlighting certain areas or objects on the screen.
How to Color Grade: A 5-Step Breakdown
Before we jump into the steps, let's talk about LUTs (Lookup Tables), which are pre-set color grading filters that you can use to quickly give your footage a specific look. While they’re super handy for speeding up the process, I wouldn’t recommend slapping them onto your clips without understanding what they do.
You’ll get much better results by learning the basics first, so you know exactly how to tweak your settings to suit your needs.
Here’s a basic 5-step guide to help you get started with color grading:
- Step 1: Start with a Base Grade: You can make a few general adjustments to set the tone for your video using saturation, contrast, and exposure.
- Step 2: Adjust the Color Temperature and Tint: From there, you can adjust the warmth or coolness of your footage to match the mood you're going for.
- Step 3: Play with Color Wheels and Curves: This is where you can add more contrast, punch up the colors, or introduce subtle hues into different sections of the on-screen image.
- Step 4: Apply a LUT: If you decide to use a LUT, now’s the time to apply it. However, you won’t often want to stick with the default setting. Correct any slip-ups once you find the right one, such as oversaturation or color intensity.
- Step 5: Skin Tones and Vectorscopes: To make sure your hues are where they should be, especially for skin tones, use a vectorscope. This tool helps you verify color accuracy by displaying hues and saturation, so you can make adjustments that keep your footage looking believable, no matter how the monitor is calibrated.
Just a quick reminder: color grading should always come after you’ve normalized your video with color correction. You want to start with a clean, balanced image before getting into the creative stuff.
Bring Your Videos to Life
And that is our mini crash course on color correction and color grading! These two processes can help make your videos their best!
Of course, we can’t forget another essential part of any great video: the music.
The right soundtrack can take your content from good to unforgettable. Why settle for less?
ProTunes One offers a massive library of background music tracks with a smart, AI-driven search feature to help you quickly find the perfect sound for your project—no need to worry about copyright issues or hidden royalties. With us, you can publish your work anywhere without a hitch!
Ready to find the perfect track? Get started with ProTunes One today!

